
vaillant ecotec pro 28 installation guide
Vaillant Ecotec Pro 28 Installation Guide: A Comprehensive Plan
This guide details the installation of the Vaillant Ecotec Pro 28‚ covering component checks‚ system planning‚ plumbing‚ gas‚ and electrical connections for optimal performance․
The Vaillant Ecotec Pro 28 is a highly efficient‚ combi boiler designed for central heating and domestic hot water․ This guide provides comprehensive instructions for qualified installers‚ ensuring safe and compliant installation․ Understanding the system’s components – including the compact thermal module – is crucial․
This boiler‚ identified by article numbers like VUW 286/5-3 (H-GB)‚ requires adherence to the provided installation and maintenance instructions (2055535)․ Proper installation guarantees optimal performance and longevity․ Always retain this manual and related documentation for future reference and servicing․ The Ecotec Pro 28 is a sophisticated system‚ demanding careful attention to gas‚ water‚ and electrical connections․
Safety Precautions & Warnings
Installation and servicing of the Vaillant Ecotec Pro 28 must be performed by a competent and qualified engineer‚ adhering to all local regulations and safety standards․ Gas safety is paramount; ensure all gas connections are leak-tested and comply with relevant gas safety guidelines․
Electrical work requires disconnection of power before commencing․ Incorrect wiring can cause hazards․ Always observe the manufacturer’s instructions regarding flue and air intake – improper installation can lead to carbon monoxide poisoning․ Wear appropriate PPE (Personal Protective Equipment) during installation․ Refer to the complete installation manual (2055535) for detailed safety information and warnings․
Unboxing and Component Check
Upon receiving the Vaillant Ecotec Pro 28‚ carefully inspect the packaging for any signs of damage during transit․ Once opened‚ verify all components are present against the packing list included in the documentation․ Essential components include the boiler unit itself‚ flue components‚ mounting bracket‚ and accompanying installation accessories․
Check for any visible damage to the boiler casing‚ flue sections‚ or any other parts․ Ensure the compact thermal module is securely in place․ Retain all packaging materials for potential returns or warranty claims․ Document any discrepancies or damage immediately and contact your supplier․ Refer to the article numbers (e․g․‚ 0010021836) for accurate identification․
Tools and Materials Required
For a successful Vaillant Ecotec Pro 28 installation‚ gather the necessary tools and materials beforehand․ Essential tools include a pipe cutter‚ adjustable wrenches‚ screwdrivers (various sizes)‚ a spirit level‚ drill with appropriate bits‚ and a gas leak detector․ Required materials encompass 22mm copper pipe‚ compression fittings‚ PTFE tape‚ flue sealing compound‚ and appropriate gas connection pipework․
Additionally‚ you’ll need a suitable condensate drain setup‚ electrical cable‚ and appropriate fixing screws for wall mounting․ Ensure compliance with current gas safety regulations and building standards․ Having a manometer for gas pressure testing and a digital multimeter for electrical checks is also crucial for safe and accurate installation․
System Planning & Considerations
Prior to installation‚ meticulous system planning is vital for the Vaillant Ecotec Pro 28․ Assess the existing heating system to determine compatibility and necessary modifications․ Consider the home’s hot water demands to ensure the boiler’s 28kW output is adequate․ Evaluate the gas supply – it must meet the boiler’s requirements for both pressure and flow rate․
Crucially‚ plan the flue and air intake route‚ adhering to regulations regarding terminal positions and distances from combustible materials․ Ensure adequate ventilation in the boiler room․ Factor in the condensate drain‚ providing a suitable fall to a safe discharge point․ A balanced system is key for optimal efficiency and longevity․
Gas Supply Requirements
The Vaillant Ecotec Pro 28 demands a robust and compliant gas supply․ Natural Gas (G20) is standard‚ but LPG conversion is possible with a dedicated kit․ Gas pipe sizing is critical; consult relevant standards (BS 6891) to ensure adequate flow‚ preventing pressure drop during peak demand․ A stable gas supply pressure between 17-20 mbar is essential for optimal combustion;
Installation must be performed by a Gas Safe registered engineer․ A gas isolation valve should be readily accessible near the boiler․ Leak testing with appropriate fluid is mandatory post-connection․ Ensure the gas supply is purged of air before commissioning․ Proper gas supply guarantees safe and efficient boiler operation․
Water Supply Requirements
The Vaillant Ecotec Pro 28 requires a reliable and adequately pressurized cold water supply․ Minimum static pressure of 80 kPa (11․6 psi) is crucial for consistent hot water delivery․ Water pipes should be sized according to BS 5958 to minimize pressure loss‚ especially with multiple outlets․ A stopcock must be installed upstream for isolation during maintenance․
Consider water hardness; hard water can lead to scale buildup‚ impacting efficiency․ Installation of a filter on the cold water inlet is highly recommended to protect the boiler․ Ensure backflow prevention is in place to comply with water regulations․ Proper water supply ensures longevity and optimal performance․
Flue and Air Intake Considerations
The Vaillant Ecotec Pro 28 is a fan-assisted boiler‚ allowing flexible flueing options․ Flue material must be compatible with the boiler’s combustion products‚ typically PP or stainless steel․ Ensure adequate air intake is available‚ especially in confined spaces‚ adhering to relevant building regulations․ Flue termination must comply with distance rules from windows‚ doors‚ and other appliances;
Consider flue length and bends; excessive length or bends reduce efficiency․ Proper sealing of flue joints is vital to prevent carbon monoxide leakage․ Regular inspection of the flue is crucial for safety and performance․ Correct flueing and air intake are paramount for safe and efficient operation․
Boiler Mounting and Installation
Prior to mounting‚ verify the wall is structurally sound and capable of supporting the boiler’s weight․ Use the supplied mounting template to accurately mark drilling points․ Ensure the boiler is level during installation for optimal performance and condensate drainage․ Maintain clearances around the boiler for servicing and ventilation‚ as specified in the installation manual․
Securely fasten the boiler to the wall using appropriate fixings․ Double-check mounting stability before proceeding with connections․ Carefully handle the boiler to avoid damage to components․ Adhere to all local regulations regarding boiler installation and safety standards․ Proper mounting is fundamental for long-term reliability․
Wall Mounting Procedure
Begin by using the provided template to mark the drilling locations on the wall‚ ensuring accurate positioning․ Drill pilot holes appropriate for the wall type and supplied fixings․ Insert wall plugs securely into the drilled holes‚ guaranteeing a firm hold․ Carefully lift the boiler into position‚ aligning it with the marked points․
Secure the boiler using the appropriate screws and fixings‚ tightening them evenly․ Verify the boiler is level using a spirit level‚ adjusting as needed․ Confirm the mounting is robust and can withstand the boiler’s weight․ Double-check all fixings are tightened securely before proceeding with further installation steps․
Connecting the Flue System

Ensure the flue system is compatible with the Vaillant Ecotec Pro 28 and meets all local regulations․ Carefully attach the flue pipe to the boiler’s flue outlet‚ ensuring a secure and airtight connection․ Apply a suitable sealant to the joint to prevent exhaust gas leakage․ Route the flue pipe according to the manufacturer’s instructions‚ maintaining correct gradients․
Secure the flue pipe using appropriate supports‚ preventing movement or strain․ Check for any obstructions within the flue pathway․ Verify the flue terminal is positioned correctly‚ adhering to safety distances from windows and other openings․ Inspect all connections for tightness and stability before commissioning the boiler․
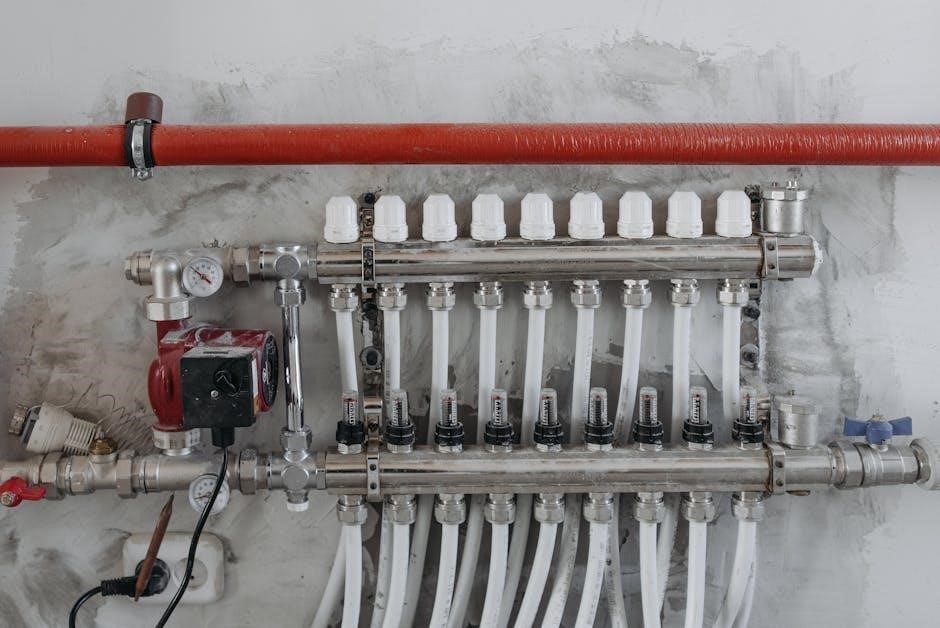
Plumbing Connections
Prior to making plumbing connections‚ thoroughly flush the system to remove debris․ Connect the cold water inlet using appropriate sized pipework and fittings‚ ensuring a watertight seal․ Install a filter on the cold water inlet to protect the boiler from impurities․ Connect the central heating flow and return pipes‚ observing correct pipework diameters and orientations․
Utilize compression fittings or other approved methods for secure connections․ Ensure adequate pipe support to prevent stress on the boiler connections․ Check for leaks after completing all plumbing work․ Properly insulate all pipework to minimize heat loss and prevent freezing․ Verify the system is correctly vented to accommodate thermal expansion․
Cold Water Inlet Connection
Begin by identifying the cold water inlet on the Vaillant Ecotec Pro 28 boiler․ Use 22mm copper pipework‚ or approved alternative‚ to connect to the boiler’s inlet fitting․ Install a high-quality filter upstream of the boiler to prevent debris from entering the system․ Employ compression fittings ensuring they are correctly sized and tightened to prevent leaks․

Consider incorporating an isolation valve for maintenance purposes․ Ensure the pipework is securely supported to avoid strain on the boiler connection․ Thoroughly flush the pipework before connecting to remove any soldering flux or contaminants․ Check for leaks immediately after connecting and pressurizing the system․ Adhere to local water regulations during installation․
Central Heating Flow and Return Connections
Identify the flow and return connections on the Vaillant Ecotec Pro 28 boiler; typically labelled․ Utilize 22mm copper pipework‚ or suitable alternatives‚ for connecting to the central heating system․ Ensure correct pipework orientation – flow to flow‚ return to return․ Install isolation valves on both flow and return for servicing and maintenance accessibility․
Employ appropriate fittings‚ such as compression or speedfit‚ ensuring compatibility with the pipework material․ Support the pipework adequately to prevent stress on the boiler connections․ Thoroughly flush the system before connection to remove debris․ Check for leaks after pressurization and commissioning․ Consider magnetic filtration to protect the boiler․
Gas Connection & Testing
Ensure a Gas Safe registered engineer performs all gas connection work․ Verify the gas supply pressure is within the boiler’s specified range․ Use appropriate gas pipework‚ sized correctly for the boiler’s gas consumption․ Install a gas shut-off valve upstream of the boiler for isolation․ Apply gas leak detection fluid to all connections after installation․
Conduct a tightness test according to relevant gas safety regulations․ Purge the gas pipework to remove any air before connection․ Check the gas rate on the boiler after ignition․ Verify correct combustion using a flue gas analyser․ Document all gas safety checks and readings for compliance․
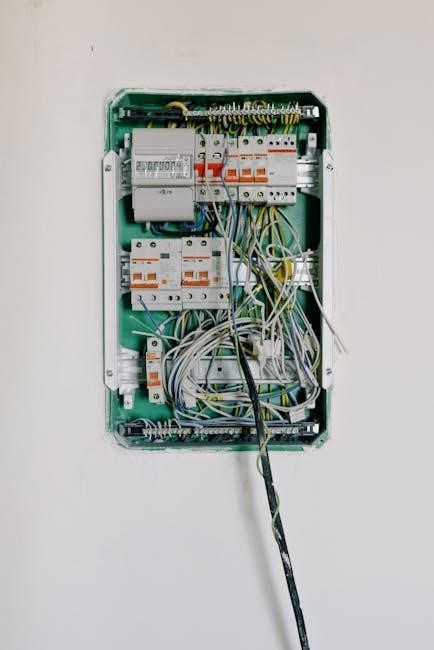
Electrical Connections
Isolate the electrical supply before commencing any wiring․ Use a dedicated‚ correctly rated fused spur for the boiler․ Ensure the electrical supply meets the boiler’s voltage requirements․ Connect the mains cable to the designated terminal block․ Earth the boiler correctly for safety and compliance․
Connect any external control wiring‚ such as thermostats or time clocks․ Verify all wiring connections are secure and correctly insulated․ Check the polarity of the connections before energizing․ Test the boiler’s electrical functionality after power-up․ Document all electrical connections for future reference and maintenance․
Filling and Pressurizing the System
Before filling‚ ensure all heating components – radiators‚ underfloor heating – are compatible․ Open all air vents to facilitate air removal during filling․ Connect a filling loop to the system‚ utilizing a compatible hose․ Slowly open the filling loop valves to introduce water‚ monitoring the pressure gauge․ Maintain pressure between 1 and 1․5 bar‚ avoiding over-pressurization․

Close the filling loop valves once the desired pressure is achieved․ Check for leaks at all connections – radiators‚ pipework‚ boiler․ Bleed all radiators to remove trapped air‚ improving circulation․ Monitor the system pressure over 24 hours‚ topping up if necessary․ Record the initial filling pressure for future reference․

Initial Start-Up and Commissioning
Power on the boiler and navigate to the commissioning menu via the user interface․ Follow the on-screen prompts to set the heating system parameters – flow temperature‚ hot water temperature‚ and system mode․ Verify gas supply pressure is within the manufacturer’s specified range․ Run a system check to confirm all components are functioning correctly․
Monitor the boiler’s operation during the initial firing sequence‚ checking for any error codes․ Test the central heating and domestic hot water functions‚ ensuring adequate heat output․ Adjust settings as needed to optimize performance and user comfort․ Document all commissioning data‚ including gas pressure and temperature settings․
Compact Thermal Module — Removal & Installation
Isolate the boiler’s power and gas supply before commencing․ Depressurize the system and drain the water from the heat exchanger․ Disconnect the relevant wiring and pipework connected to the compact thermal module․ Carefully remove the existing module‚ noting the orientation of seals and gaskets․
Inspect the mating surfaces for damage or debris․ Install the new module with fresh seals‚ ensuring correct alignment․ Reconnect all wiring and pipework securely․ Refill and pressurize the system according to the manufacturer’s instructions․ Restore power and test for leaks before full commissioning․
Filter Cleaning — Cold Water Inlet
Isolate the cold water supply to the Vaillant Ecotec Pro 28․ Depressurize the system to relieve water pressure․ Locate the filter on the cold water inlet pipe‚ typically a mesh strainer․ Carefully unscrew the filter housing‚ preparing for some residual water spillage․

Remove the filter mesh and thoroughly clean it under running water‚ removing any sediment or debris․ Inspect the filter housing for cracks or damage‚ replacing if necessary․ Reinstall the cleaned mesh and securely tighten the filter housing․ Slowly reopen the cold water supply‚ checking for leaks․ Repressurize the system and verify proper operation․
System Testing and Performance Checks
After installation‚ thoroughly test the Vaillant Ecotec Pro 28․ Begin by checking for gas and water leaks around all connections․ Power on the boiler and verify correct operation of the user interface․ Run hot water at various taps to assess heating performance and temperature stability․
Monitor central heating operation‚ ensuring radiators heat evenly․ Check flue operation for proper draft and absence of obstructions․ Verify safety devices‚ like the pressure relief valve‚ function correctly․ Record all test results and compare them to manufacturer specifications․ Address any discrepancies immediately to ensure optimal and safe performance․
User Interface and Control Settings
The Vaillant Ecotec Pro 28 features a user-friendly interface․ Familiarize yourself with the display panel‚ buttons‚ and indicator lights․ Adjust temperature settings for both central heating and domestic hot water to suit user preferences․ Explore the clock and timer functions for programmed heating schedules‚ optimizing energy efficiency․
Understand error codes displayed on the interface‚ referencing the manual for troubleshooting․ Utilize the boiler’s modulation range for precise temperature control․ Configure settings for specific system requirements‚ such as weather compensation․ Ensure users understand basic operation and safety features for comfortable and efficient heating․

Troubleshooting Common Issues
Common issues with the Vaillant Ecotec Pro 28 include low pressure‚ error codes‚ and lack of hot water․ Check the system pressure and repressurize if necessary․ Consult the error code list in the manual to diagnose specific problems‚ often related to gas supply or ignition․ Inspect the flue for blockages‚ ensuring proper ventilation․
Address cold water inlet filter blockages‚ cleaning it regularly to maintain flow․ Verify gas supply and connections for leaks or interruptions․ Reset the boiler following the manual’s instructions․ If issues persist‚ contact a qualified Vaillant engineer for professional assistance‚ avoiding self-repair to maintain warranty validity․
Maintenance Schedule & Procedures
Regular maintenance ensures optimal performance and longevity of your Vaillant Ecotec Pro 28․ Annually‚ a qualified engineer should perform a comprehensive service‚ including a flue gas analysis to check combustion efficiency and safety․ Inspect and clean the heat exchanger‚ removing any debris or scale buildup․ Check and clean the cold water inlet filter to prevent blockages affecting hot water supply․
Monitor system pressure monthly‚ maintaining it within the recommended range․ Visually inspect pipework for leaks or corrosion․ Keep the boiler casing clean and free from obstructions․ Record all maintenance performed for warranty purposes and future reference‚ ensuring adherence to Vaillant’s guidelines․
Documentation and Warranty Information
Retain all documentation related to your Vaillant Ecotec Pro 28‚ including the installation manual‚ service records‚ and purchase receipt․ The standard warranty typically covers parts and labor for a specified period‚ often ranging from 2 to 10 years depending on the model and registration status․ Register your boiler online with Vaillant to activate the full warranty benefits․
Keep proof of annual servicing‚ as this is usually a condition of the warranty․ Familiarize yourself with the warranty terms and conditions‚ noting any exclusions or limitations․ Contact Vaillant directly for warranty claims or technical support‚ providing your boiler’s serial number and installation details․
Leave a Reply
You must be logged in to post a comment.